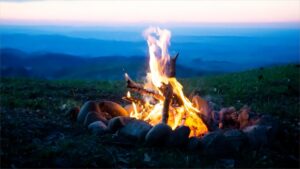
 After a day spent outside, nothing beats a warm, crackling a campfire. Campfires are the heart of a campground. People appear to be instinctively drawn to them. A campfire brings people together, whether they want to warm their hands, grill some s’mores, sing a few songs, or exchange memories. However, creating the ideal campfire involves more than just throwing a few logs into a pit and lighting a match. Creating a decent campfire is an art form that, like any other, demands time, expertise, proper equipment, and knowledge.
Different types of campfires
In many ways, a fire is a fire: it keeps you warm, helps you cook, and creates a cosy ambiance. However, not all fires are created equally. Various types and styles of campfires provide different effects, such as heat production, cooking potential, and burn time.
Here are five of the most common campfire kinds; try out a few different ones on your next camping trip.
- Tepee or cone
This classic coned-shaped structure is named for the Indigenous dwelling it resembles. It burns fiercely because of its large, circular base, which allows for sufficient oxygen flow. It’s also simple to feed by resting more sticks against its upright frame. Because this fire burns wood quickly and requires regular maintenance, it’s best suited for short warming or modest culinary activities such as boiling water (wait for the teepee to collapse before placing the pot of water on the coals and adding tiny sticks around the pot to keep the fire burning).
- Log cabin
If you are looking for a fire with a long burn that needs little work, the log cabin is the way to go. By stacking thick logs that collide as they burn while keeping space in the center for air to flow, you may produce a warm fire that burns considerably slower than a teepee. Building one is simple: Place two logs in the pit parallel to one another, then stack two more on top perpendicular to them. Continue stacking logs until you reach the appropriate height, then add kindling in the center square and burn.
- Platform or upside-down pyramid
Similar to the log house, the platform fire was intended to prepare meals. The fundamental difference between the two methods is that the logs of a platform fire are placed closer together, and the fire is started from the top rather than the bottom.
Because you start the fire at the top of the wood, it burns down rather than up. This provides a stable, level platform of hot coals that is ideal for cooking; you can place pots or pans right on the coals, and the fire will support itself while it burns.
To build a platform campfire, place three or more pieces of firewood on the ground. Add three or more on top, perpendicular to the first layer. Continue adding wood until the fire is at least three levels high, then place tinder and kindling on top of the platform.
- Star
When you’re low on wood, a star fire may be the right answer. It burns entire, un-split logs slowly at the ends to generate a long-lasting and efficient fire.
To begin, collect four or five logs of any length. Create a small tepee fire with kindling and pull the logs around it, with one end facing the fire and the other leading away from it, like the points of a star or the spokes of a wheel. The tepee fire in the middle will light the ends of the logs. As they burn, move the logs closer to the center to replace those that have already been consumed.
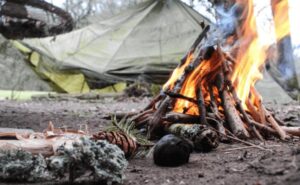
- Lean-to
When it’s windy, you’ll be glad you know the lean-to approach, which employs your own wood as a windbreak. To construct the most basic form, put a heavy wood on the ground and arrange your tinder next to it, on the windward side. Lean tiny sticks and other kindling against the log at an angle that extends over the tinder. When you spark the tinder, it will ignite the kindling and start burning the larger wood. Slowly add larger sticks to the fire, then add another full-size log when ready.
- Swedish Fire
You do not have to be in Sweden to experience this creative fire. This is a lifesaver if you want to start a fire but don’t have many logs, as it just requires one. You can even use the top as a stove. You’ll need a chainsaw or another instrument to chop wood. Locate the thickest log available and position it upright, like a drum. Hold it upright in the campfire ring and make chainsaw cuts starting at the top, as if you were dividing a pie into four wedges. Be careful not to cut more than six inches from the log’s base; if you cut all the way to the bottom, you will have to start over. Then place kindling in the center and between the wedges, light the fire, and you’re good to go.
- Keyhole
Named after its keyhole shape, this fire offers the best of both worlds. On one end, you have the main fire to keep you warm, while on the other, you have hot coals ideal for cooking. Begin by making a keyhole shape in the earth with stones, forming a circle at least 2 feet (61 centimetres) in diameter joined to a rectangle large enough to accommodate the cookware you intend to use. Next, build your Favorite fire in the main ring; a teepee or log house works great here. Light the fire approximately an hour before you want to cook to give it time to produce the coals you require. Rake the coals into the rectangular portion as they become accessible, then set your cookware on top and start cooking!
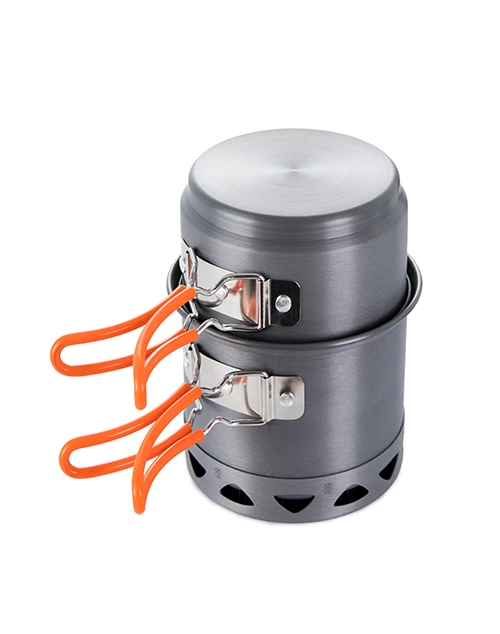
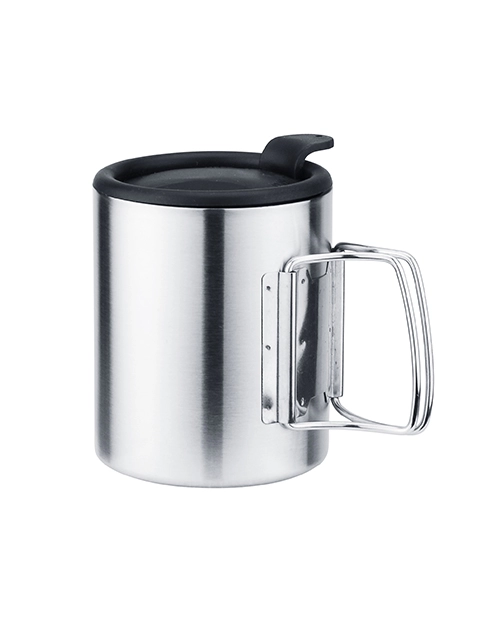
ODM service
Looking for reliable wholesale outdoor equipment? At Deermaple, we specialize in ODM service, offering high-quality and innovative cooking gear tailored to your needs.
If you are interested in outdoor gear wholesale, please contact us.